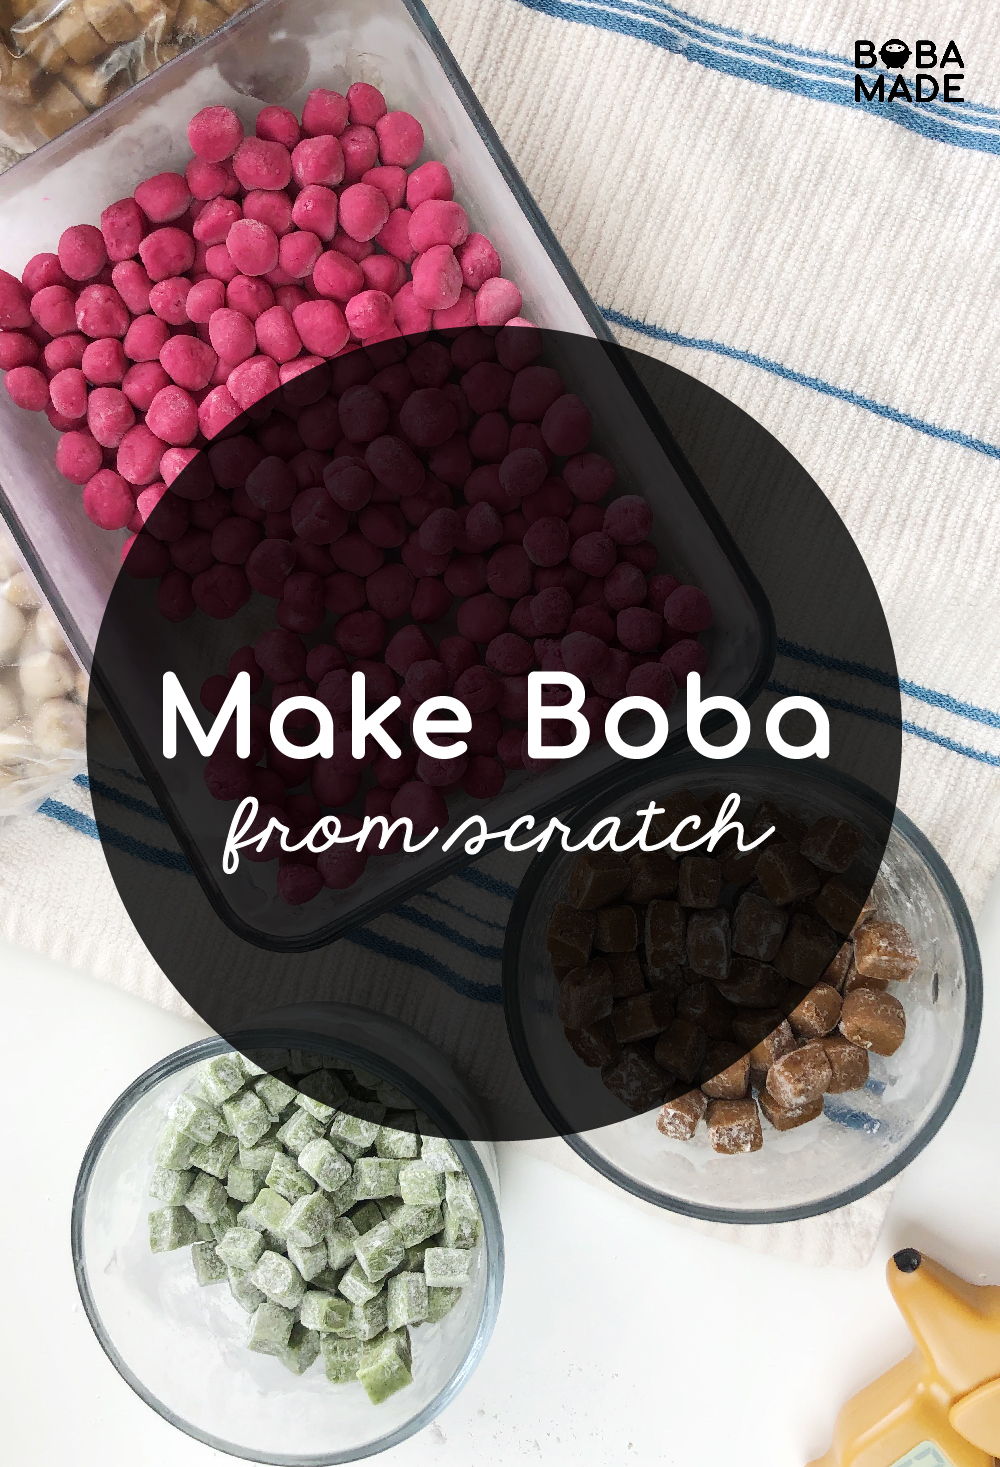
Did you know you can make tapioca pearls (boba) from scratch with only 3 ingredients? And it’s actually very simple to make and easy to store. You can freeze the tapioca pearls and cook them when you are in the mood for a boba tea. Ever since the lockdown, I’ve been making my own boba tea at home. Once you tasted freshly made natural tapioca pearls, you will want to make it all the time.
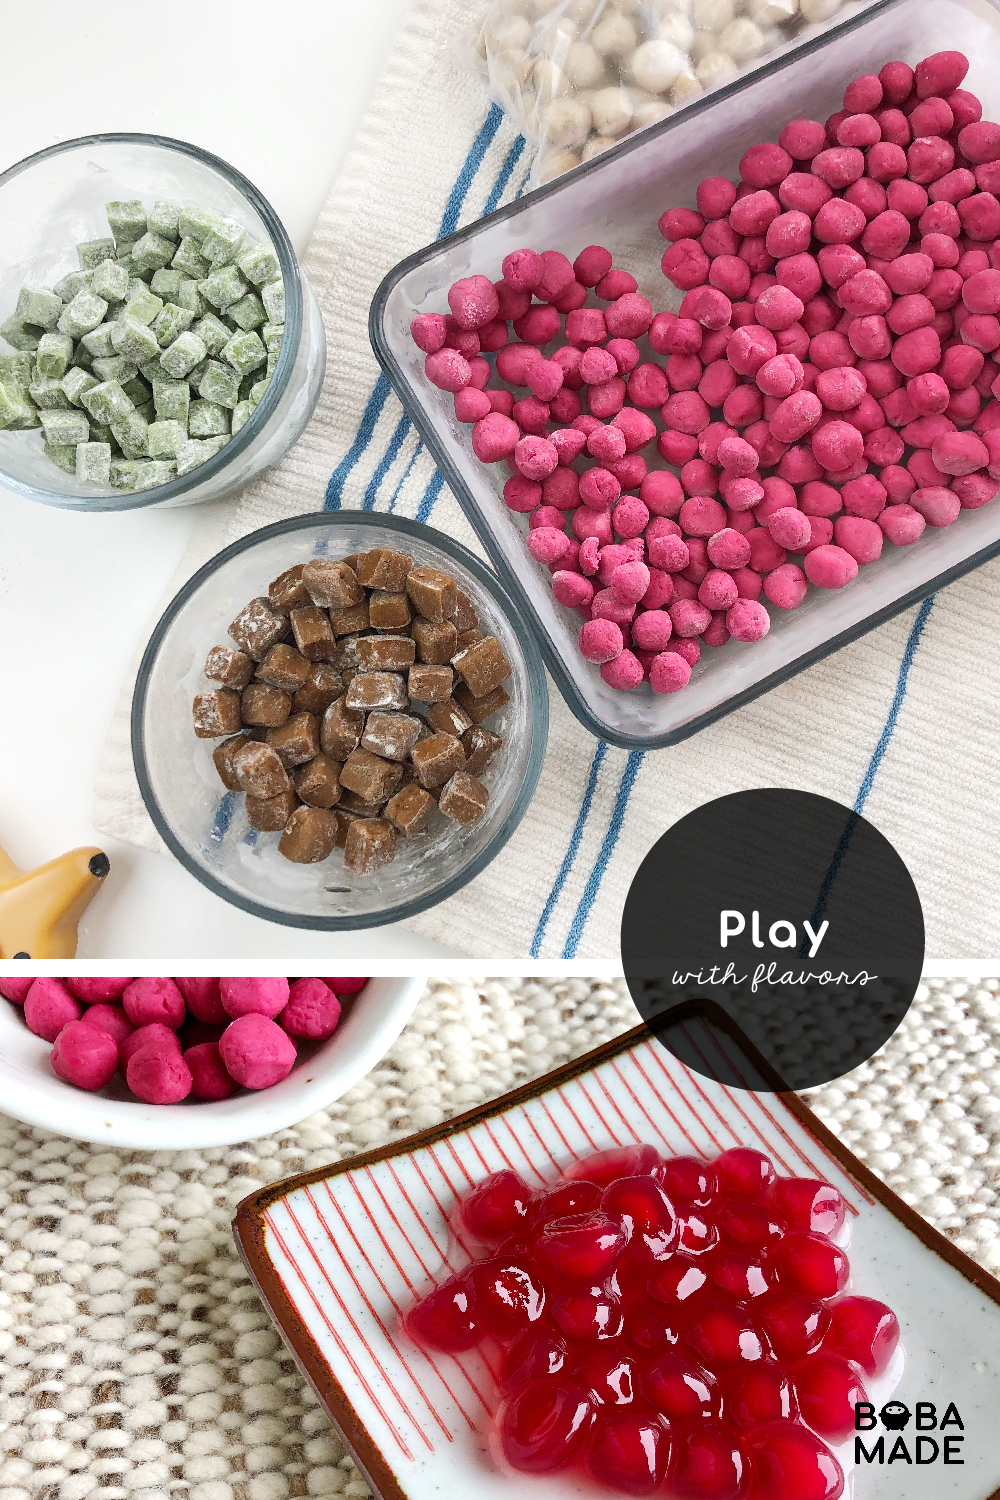
This tapioca pearl recipe has been tested and refined many times over. Since February this year, I’ve made over 50 batches of tapioca pearls from scratch. Within these batches, I made ones shaped like cubes and noodles, colored in pink by beet root juice, flavored to taste like matcha, coffee and chocolate and many more. Once you have learned how to make tapioca pearls from scratch, you can get as creative as you like with different flavors, colors and shapes. Not to mention, it’s much healthier for you than the store bought dried tapioca pearls because these homemade boba are made with 100% natural ingredients.


Before we get started, here are some very important tips to read before you begin. Having hosted two boba tea making classes online, these tips will really help you in succeed in your first batch of tapioca pearls and the ones to come.
TIPS
- Best time to add in tapioca flour is when the boiling sugar water has stopped creating rolling bubbles. When you turn off the stove, the sugar water can still be boiling from the heat of the pot, if so, wait until the boiling action has stopped then add in the tapioca flour. If it’s boiling while you add in the tapioca flour, the tapioca flour will likely seize into lumps. If it’s not hot enough, the tapioca flour won’t bond with the sugar water, you will end up with a gluey and shapeless lump.
- When adding the tapioca flour, try to sprinkle it in instead of pour the whole 1/4 cup in. This will make it a lot easier to mix and blend the sugar water with the flour.
- The dough can dry up very fast. Cut it in half and store one half in a sealed container to keep the moisture in. If the dough has dried up too much, you can try to sprinkle some water over the dough and knead it until it’s smooth and moist again.
INGREDIENTS
- 1/2 cup water (105g)
- 1 1/4 cup tapioca flour (150g)+some for dusting at the end
- 5 tablespoons brown sugar / coconut sugar (50g)
TOOLS YOU WILL NEED
- Small cooking pot
- Whisk / spatula
- Knife / dough scraper
- Rolling pin
- Parchment paper (optional)
INSTRUCTIONS
Make Tapioca Pearls
1. Place tapioca flour in a bowl.
2. Combine water and sugar together in a small pot and bring the sugar water to a boil (make sure the sugar has dissolved)
3. Turn off the stove and wait until the boiling has stopped, then sprinkle in 1/4 of the tapioca flour. Whisk until blended then add in the rest of the flour a quarter at a time.
4. Mix the dough until they start to stick together and separate from the pot.
5. Transfer the dough to a flat surface (cover with parchment paper if you have it available) and let it rest for a few minutes until it’s cool enough to handle with your hands
6. Knead until the dough becomes smooth with a texture of play-doh or clay.
7. Divide the dough into 2 (keep the other half in a sealed container to prevent it from drying out) and roll each dough with a rolling pin into a flat round disk (about 3/8” thick) and cut it into strips and then again into squares.
8. Roll each square piece in between your palms to make them round. Try to make them as even in size as possible and should be small enough to pass through your straw.
9. Cook the tapioca pearls or store them in the freezer for up to 3 months. To store in the freezer, dust the pearls with tapioca flour and spread them on a wide container. Once the tapioca pearls have hardened, you can transfer them into a zip lock bag to save space in the freezer.

Cooking Tapioca Pearls
1. Bring 5 cups of water to a rolling boil in a medium pot over high heat.
2. Add the tapioca pearls to the boiling water and stir immediately to prevent them from sticking to the bottom. Stir until they all float to the top (2-3 minutes) then turn the heat down to medium low and cover with a lid to cook for 13-15 minutes (depending on your handmade boba size and desired consistency*)
3. Turn off the heat and let the tapioca pearls rest for another 15 minutes. Do NOT remove the lid.
4. Strain the tapioca pearls in a colander or a strainer, then rinse them with cold filtered water and strain again.
5. Transfer the tapioca pearls to a mixing bowl and mix in sugar. The heat from the tapioca pearls will dissolve the sugar. Allow 10 minutes for tapioca pearls to absorb the sweetness before serving. You can also make a sugar syrup instead to soak the tapioca pearls.
Cooked tapioca pearls is best kept warm or at room temperature. Once they become cold; the texture will harden and loose its chewiness.
*The cooking time can be reduced or added depending on how you like your tapioca pearls. For chewier texture, try 13 minutes on medium low simmer and 13 minute resting. For softer texture, try 15 minutes for both steps.


So this is how you can make tapioca pearls from scratch at home. I would love to hear how it goes for you. You can tag me on Instagram or share your comments below. I will follow up with another post on how to make classic milk tea from scratch to complement the freshly made tapioca pearls. Stay tuned and don’t forget to sign up to our newsletters for more fun boba intel!
LET’S KEEP IN TOUCH
Join our Facebook group to get all the latest boba ideas and boba trends!
New to Boba Made? Watch our video here. to learn about our boba bags

